In today’s digital age, the ability to screen record on your iPhone is no longer just a cool trick—it’s a vital tool for everything from creating tutorials and recording app demonstrations to capturing gameplay, troubleshooting issues, and even saving video calls. Whether you’re brand new to iOS or just haven’t explored all its features, this guide will take you from beginner to expert—quickly and confidently.
Let’s dive in and explore how to screen record on any iPhone, and pick up some pro tips along the way!
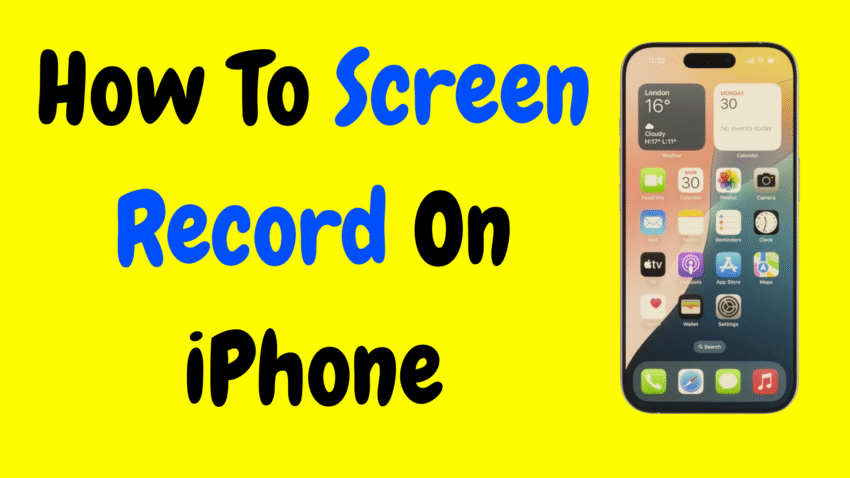
📱 What Is Screen Recording on iPhone?
Screen recording is exactly what it sounds like: recording everything that’s happening on your screen. When you hit record, your iPhone captures everything—from swipes and taps to notifications, animations, and videos. You can even choose to include audio (both from your device and your microphone) in the recording.
This built-in feature is native to iPhones running iOS 11 or later, meaning it works on almost all modern iPhones—whether you’re using an iPhone 8 or the latest iPhone 15.
🧰 Why You Might Need Screen Recording
Here are some of the most common (and practical) reasons people use screen recording on their iPhones:
- 📹 Create tutorial videos for social media, YouTube, or friends
- 🎮 Capture gameplay footage
- 🛠️ Document bugs or errors for troubleshooting
- 💬 Save Zoom or FaceTime calls (with permission)
- 🎶 Record Instagram or TikTok content (again, for personal use and with permission)
- 📝 Demonstrate app features for client or business presentations
Whether you’re a content creator, tech enthusiast, or someone who just wants to share a quick walkthrough with a friend, screen recording is a powerful iOS feature.
✅ Step 1: Enable the Screen Recording Button in Control Center
The screen recording tool is tucked inside your iPhone’s Control Center—the panel that appears when you swipe down from the top-right corner of your screen (on Face ID models) or up from the bottom (on Touch ID models).
Here’s how to add the screen recording button:
- Open the Settings app.
- Scroll down and tap on Control Center.
- Find Screen Recording under the “More Controls” section.
- Tap the green plus (+) icon to add it to your Control Center.
Now, you’ll be able to access screen recording in just a swipe!
🎥 Step 2: How to Start a Screen Recording
Once it’s in your Control Center, starting a screen recording is easy:
- Swipe to open the Control Center.
- Tap the record button (a solid circle inside a ring).
- You’ll see a 3-second countdown, and then the recording begins!
You’ll know it’s working when the time (top-left corner) or Dynamic Island turns red.
To stop recording:
- Tap the red recording indicator at the top of your screen, then tap Stop.
- Or swipe down to Control Center and tap the record button again.
Your video is automatically saved to the Photos app!
🎤 Pro Tip: Record With Microphone Audio
Want to add your voice or ambient sounds to the screen recording? Maybe you’re doing a walkthrough or reacting to what’s happening onscreen.
Here’s how to enable the microphone:
- Open Control Center.
- Long press the screen recording button.
- Tap the Microphone Audio button at the bottom—it’ll turn red when enabled.
- Tap Start Recording.
Now you’ll capture both your screen and your microphone input.
📁 Where to Find Your Screen Recordings
Once you stop the recording, your iPhone automatically saves the video to the Photos app. You can find it by:
- Opening Photos.
- Tapping Albums > Recents or Screen Recordings.
From here, you can trim, edit, add filters, or share the video directly from the Photos app.
✂️ How to Trim and Edit a Screen Recording
Let’s say you recorded a great clip but want to trim off the beginning or end.
Here’s how to trim a screen recording:
- Open the Photos app.
- Find and tap your screen recording.
- Tap Edit in the top right.
- Use the sliders at the bottom to trim the start or end.
- Tap Done, then choose Save Video as New Clip or Save Video.
This built-in editor is great for quick fixes—no extra apps needed!
🔇 Want to Record Without Audio?
If you don’t want to record internal sounds or microphone input, just:
- Don’t enable the microphone (leave it off).
- And turn your iPhone to silent mode if you don’t want alerts or sounds to interrupt.
Remember: notifications will still show up while recording, so it’s smart to enable Do Not Disturb beforehand.
💡 Expert Tips for Professional-Looking Recordings
If you’re planning to share your recording publicly or professionally, try these tips:
1. Use “Do Not Disturb”
Prevent calls, messages, or notifications from popping up mid-recording. Just go to Control Center and tap the Focus or Do Not Disturb icon before starting.
2. Clean Up Your Screen
Remove clutter like unused apps or tabs. Also, clear out unnecessary icons or widgets if they appear during the recording.
3. Lock Screen Orientation
If your content is best in landscape or portrait, lock the orientation before you begin recording to avoid accidental rotation.
4. Practice First
Before recording a long tutorial or walkthrough, do a dry run to ensure everything works as intended. You’ll avoid mistakes and make editing easier.
5. Keep It Short and Clear
Especially for tutorials or social content, keep screen recordings tight and to the point. Nobody likes to watch unnecessary scrolling or loading screens.
🛑 Common Screen Recording Problems (and Fixes)
❌ Can’t Find the Screen Recording Button?
Make sure you’ve added it in Settings > Control Center. If it’s missing, update your iOS to the latest version.
❌ No Sound in Recording?
Make sure you’ve enabled microphone audio before recording and turned up your device volume. Also, some apps block internal audio due to privacy restrictions.
❌ Video Is Choppy or Lagging?
Close unused apps before recording. Free up storage if needed—low space can slow down your iPhone’s performance.
🧠 Advanced Uses for Screen Recording
Once you’re comfortable with screen recording, you can go beyond simple videos. Here are some clever uses:
- 📊 Make app reviews for social media or blogs
- 📚 Create step-by-step tech guides
- 🎤 Narrate product walkthroughs
- 💡 Record brainstorming sessions using note-taking apps
- 🔁 Capture repeating bugs to show Apple Support or a technician
🔄 Can You Screen Record on Older iPhones?
Yes! As long as your iPhone runs iOS 11 or later, you can use screen recording. That includes:
- iPhone SE (1st gen and newer)
- iPhone 6s and newer
- iPhone 7, 8, X, XR, XS, 11, 12, 13, 14, 15 series
If your iPhone is too old for iOS 11, unfortunately, screen recording isn’t available. But most devices from the last 7–8 years are supported.
🤔 Is Screen Recording Legal?
Yes—if you’re using it responsibly. But there’s a catch: you must respect privacy laws and avoid recording private conversations, calls, or copyrighted material without consent.
Here are some quick dos and don’ts:
✅ Safe Uses:
- Personal tutorials
- Capturing your own gameplay
- Recording your own FaceTime call (with both parties informed)
- Demonstrating app features for clients
❌ Avoid:
- Recording someone else without permission
- Capturing private conversations or video calls secretly
- Downloading copyrighted content via screen record
Always be ethical and mindful of others’ privacy—especially when sharing recordings.
📦 Final Thoughts
Learning how to screen record on an iPhone is like unlocking a secret productivity superpower. It’s built right into your phone, it’s easy to use, and it can be an invaluable tool—whether you’re a casual user, student, content creator, or tech support wizard.
From setting up Control Center to using pro editing tips, you’re now equipped to go from beginner to expert in no time.
So go ahead—open your Control Center, hit that red circle, and start recording like a pro. You’ve got the tools. You’ve got the tips. Now it’s your turn to capture your iPhone screen, your way.
Would you like me to turn this article into a PDF or add screenshots for a full guide layout?